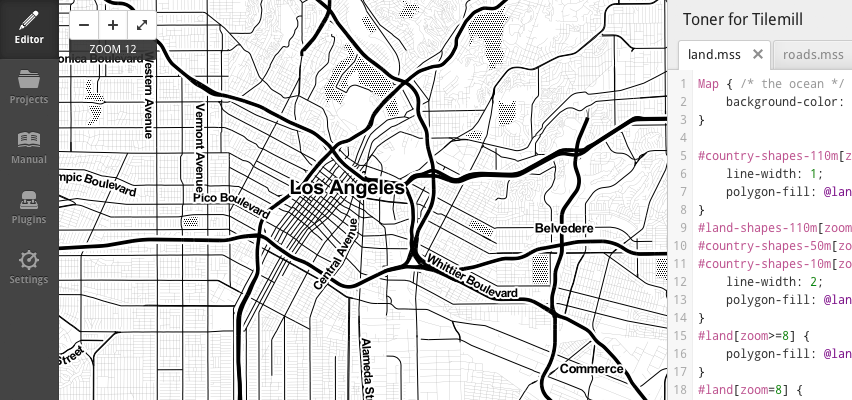
Toner for Tilemill is a port of Stamen's high contrast, black-and-white mapping style, Toner, for use with Tilemill. The style is ment to reflect the current state of Toner's appearance in the easy to use Tilemill environment. Check out a map of the output.
It's still a work in progress with some known problems, feel free to file an issue if you notice something wrong or isn't in sync with the apperance of original Toner.
In some places the Carto markup is structured differently than the original Cascadenik mostly to take advantage of features in Carto, so there is plenty of nesting, some instances, and a few attachments. For features like highways, bodies of water, and land, colors have been made into variables for easy modifications. Stylesheets have also been organized with similarly grouped features; all roads are in one place, as are labels, boundaries, and land features.

This setup is taken directly from Mapbox's OSM Bright so most of the instructions for OSM Bright will work here with the only difference being that there is only support for osm2pgsql, not Imposm.
I highly recommend the Mapbox quickstart guides for OS X and Ubuntu, they've always worked for me.
If you don't already, you need to have PostgreSQL installed & running with a PostGIS database setup within it. See the PostGIS documentation for full information on how to do this.
Take note of the user and database you setup during this process.
You will need an OSM database extract in one of the following formats:
- .osm.pbf (binary; smallest & fastest)
- .osm.bz2 (compressed xml)
- .osm (xml)
You can find appropriate data extracts for a variety of regions at http://download.geofabrik.de/osm or http://downloads.cloudmade.com. Exracts of select metropolitan areas are available at http://metro.teczno.com. See the OSM wiki for information about (very large) full-planet downloads.
You need to process this data and import it to your PostGIS database. You can do this with osm2pgsql; see the site for installation instructions.
The osm2pgsql import command looks like this:
osm2pgsql -c -G -U <postgres_user> -d <postgis_database> <data.osm.pbf>
See man osm2pgsql or the online documentation for more details.
You'll need to adjust some settings for things like your PostgreSQL connection information.
- Make a copy of
configure.py.sampleand name itconfigure.py. - Open
configure.pyin a text editor. - Optionally change the name of your project from the default, 'Toner for Tilemill'.
- Adjust the path to point to your MapBox project folder. (reference: http://mapbox.com/tilemill/docs/manual/files-directories/)
- Make any adjustments to the PostgreSQL connection settings. Your database may be set up so that you require a password or different user name.
- Optionally adjust the query extents or shapefile locations. (Refer to the comments in the configuration file for more information.)
- Save & close the file.
This will create a new folder called "build" with your new project, customized
with the variables you set in configure.py and install a copy of this build
to your MapBox project folder. If you open up TileMill you should see your new
map in the project listing.
Do note, opening the project for the first time may take a while because the coastline shapefile has to be downloaded and cached, Tilemill might look like it froze but it's fine, just let it be. The file is ~300mb and only has to be downloaded once.
You're now ready to start editing the template in TileMill!