
/leli - Returns search result with given keywords
/quote - Get random quote from our database
/slang - Look up slang word definition; the result may surprise you!
/hotline - Dev group only
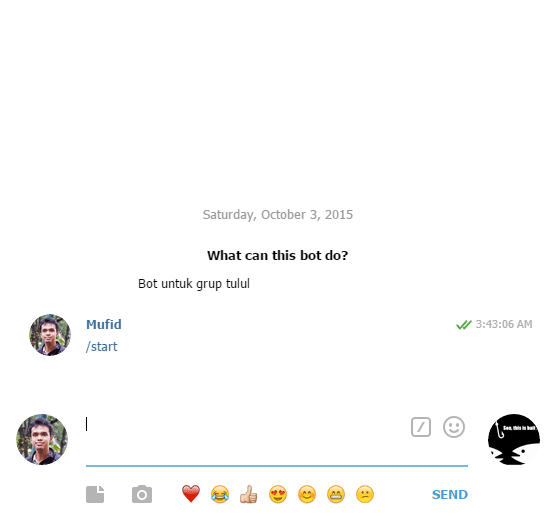
/who - Know your tululbot
/hbd - Send your friend a birthday blessing message
/kbbi - Look up word definition in KBBI
-
Setup your Python virtual environment. There are two ways to do this. One is via virtualenvwrapper and the other one is via pyenv. If you decided to use virtualenvwrapper, here are the steps you may follow:
-
Make sure you have Python on your system.
-
Install virtualenvwrapper to make it easier working with virtualenv. We need virtualenv because Tululbot uses Python 3, whereas most systems still use Python 2. Virtualenv makes it easy to manage different Python versions along with their libraries. There are many ways to install virtualenvwrapper. One of the easiest ways is to use Pip.
pip install virtualenvwrapper
Pip is the default package manager for Python. It should already be installed if you have Python >= 2.7.9 or Python >= 3.4 on your system.
-
Configure your virtualenvwrapper as described in their docs.
-
Make sure you have Python 3 installed on your system. This can be done in many ways. For instance, in OSX, you may install it with Homebrew
brew install python3
UPDATE: Homebrew's
python3is already updated to Python 3.5. Since we're using Python 3.4, you might want to use pyenv instead. -
Create a Python 3 virtual environment and clone this repository.
mkvirtualenv -p /path/to/python3/binary name_of_your_virtualenv
git clone git@github.com:tulul/tululbot.git /path/to/your/tululbot/project/directory
-
Activate the virtual environment you've just created.
workon name_of_your_virtualenv
If you'd like to use pyenv instead, here are the steps you may follow:
-
Install pyenv and its pyenv-virtualenv plugin. Configure them as written in their docs.
-
Install Python 3.4 with
pyenv, create virtual environment, and clone this repository.pyenv install 3.4.3 pyenv virtualenv 3.4.3 name_of_your_virtualenv git clone git@github.com:tulul/tululbot.git /path/to/your/tululbot/project/directory
-
Activate the virtual environment you've just created.
pyenv activate name_of_your_virtualenv
-
-
Navigate to the directory where you've cloned this repo and install all its dependencies.
cd /path/to/your/tululbot/project/directory
pip install -r requirements.txt
Dependencies are all listed in
requirements.txt. To re-generate this file (after you've installed new packages), simply runpip freeze > requirements.txt. For Linux users, if you have a problem installing the dependencies (PyYaml in particular), install the packagepython3-devorpython3-develfirst. -
Create
.envfile under the project root directory. It contains the configuration variables for the application. Sample.envfile can be found in.env.example. -
Run the app
python manage.py runserver # or ./manage.py runserver -
The app is now running! Try to play around with it by simulating a webhook request. For instance, try this:
curl --data '{"update_id": 12345,"message":{"text":"/who","chat":{"id":-12345},"message_id":1}}' --header "Content-Type: application/json" http://127.0.0.1:5000/<YOUR TELEGRAM BOT TOKEN IN .ENV>
You should get a JSON response that looks like this:
{
  "chat_id": -12345,
  "disable_web_page_preview": "true",
  "method": "sendMessage",
  "reply_to_message_id": 1,
  "text": "TululBot v0.1.0\n\nEnhancing your tulul experience since 2015\n\nContribute on https://github.com/tulul/tululbot\n\nWe're hiring! Contact @iqbalmineraltown for details"
}
As you can see, the url endpoint is determined by the
TELEGRAM_BOT_TOKENconfig variable. This is actually recommended by Telegram.
-
Make sure you already installed pytest and flake8. Both are listed in
requirements.txtso if you followed the instructions to setup your machine above then they should already be installed. -
Put
.envfile under yourtestsdirectory. -
You can run the tests and linters with
python manage.py testandpython manage.py lintrespectively. If you remember thatmanage.pyis actually executable, you may run it with./manage.py COMMAND. -
To run both linters and tests in one command, you can use
python manage.py check. This is useful to check your code before making a pull request. -
For more info on what you can do with
manage.py, runpython manage.py --help.
If you want to write new features to TululBot or fix bugs, that's great! Here is a step-by-step guide to contribute to TululBot's development.
-
You need an issue on GitHub about your contribution. This can be a bug report (in which case your contribution is the bug fix) or feature suggestion (in which case your contribution is the implementation). If your contribution is a about new issue you want to raise, create a new issue on GitHub.
-
Create a new branch on which you write your code. Use any branch name as you which. For example,
cool-feature:git checkout -b cool-feature
-
Implement your contribution in the branch.
-
Periodically, and after you finished writing the code, pull the latest changes from master:
git pull --rebase origin master
Fix any conflicts that may arise.
-
After you really finished writing the code, commit your changes. You may create one or more commits.
-
Push the feature branch to
origin:git push origin cool-feature
-
Create a new pull request on GitHub for
cool-featurebranch to be merged tomaster. Refer the issue number in the pull request description. -
Wait for other tulul members to review your contribution.
-
If they approve your contribution, congrats! You may commit your contribution to master. First, don't forget to rebase your branch against master:
git pull --rebase origin master
Again, fix any conflicts that may arise.
-
Then, clean up your commits. Do a interactive rebase (please google this term).
git rebase -i origin/master
You can pick, fix up, squash, or reorder the commits, or anything in any way you like. For each commit you want to include:
- If necessary, rewrite the commit message to a more meaningful one.
- If your contribution consists of a single commit, append
Resolve #Xto your commit message, whereXis the issue number. If your contribution consists of multiple commits, append it to the last commit. For the other commits, appendPart of #X.
-
Force-push your feature branch to origin:
git push -f origin cool-feature
-
Checkout master:
git checkout master
-
Merge your changes to master:
git merge cool-feature
-
Push master:
git push origin master
Note that your pull request will be automatically closed.
-
You may safely delete your feature branch:
git branch -D cool-feature
Also delete your feature branch on origin from GitHub.
git push origin :cool-feature
-
Done!
In case you want to commit a really minor fix, you may skip all above steps and directly push to master. For example, fixing typos, fixing whitespaces, super minor bug you spotted in your previous commits, etc. Remember, our development process model is Leaderless Agile. Don't over-abuse this rule. With great power, comes great responsibility.