
PiCamexif is a Raspberry Pi based camera designed to produce pictures containing GPS data. This Raspberry Pi uses a Raspberry Pi Camera Module and Adafruit's GPS Module with a simple python program to write the GPS coordinates in the EXIF tags of the pictures. This README will go over how the program works and how the hardware is configured.
All the links for the hardware used for this project are included in the 'Hardware Components' section below.
| # | Components | Image | Comment |
|---|---|---|---|
| 1 | Raspberry Pi 3 Model B |  |
|
| 2 | Micro SD Card |  |
The SD Card is used to for the Raspberry Pi's operating system and for storage. In this case, a 32GB card might be a little overkill so you could use a 16GB or 8GB micro SD card just fine. |
| 3 | Raspberry Pi Camera Module | 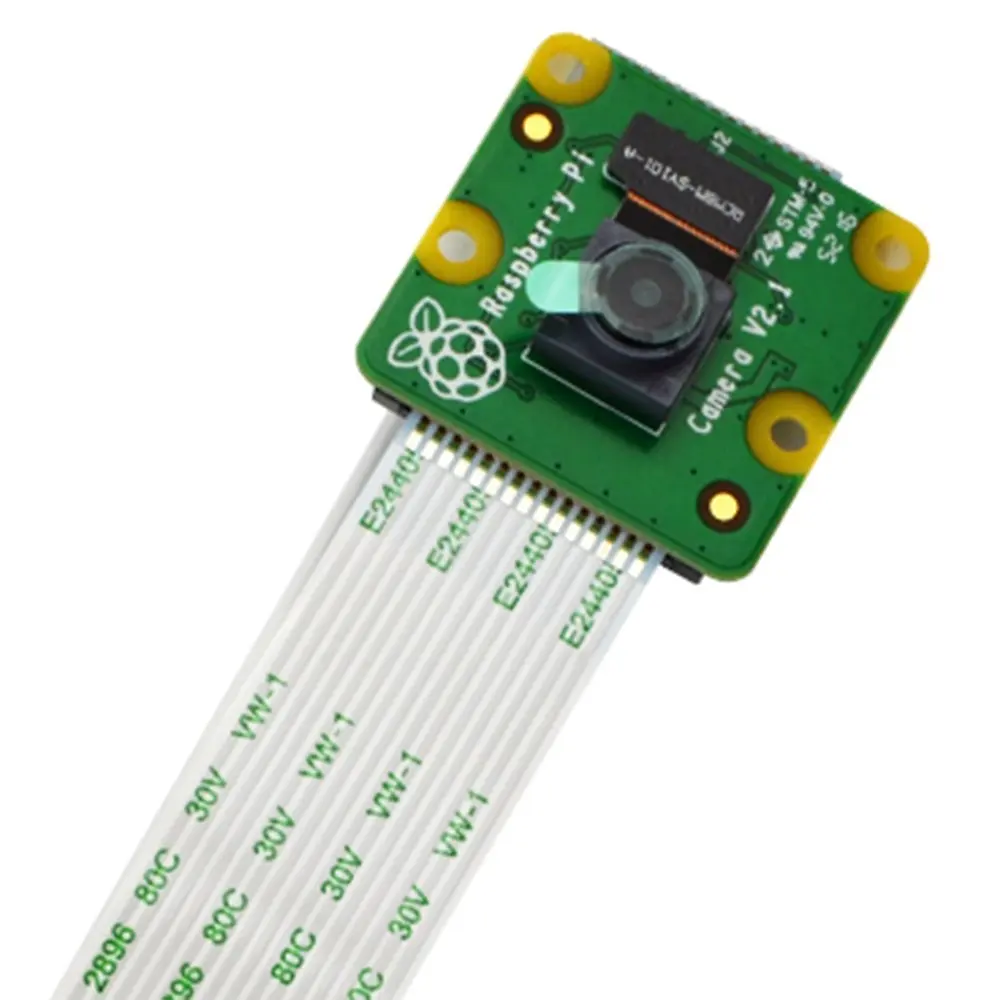 |
This 8 megapixel camera is really simple to set up and can be used to take photos and videos |
| 4 | Adafruit GPS Module |  |
This small GPS module can track up to 22 satellites and offers a surprising level of precision. It also comes with a piece of header you have to solder on to use it with a breadboard. |
| 5 | TTL Serial Adapter Module USB to UART Converter |  |
This adapater is very useful because you can connect the GPS module to the Raspberry Pi without using any of the GPIO pins for power or data transmission. |
| 6 | 4 Pins Tact Switch |  |
This tiny switch is used as a trigger button for the camera. |
- Python 3.7 with the following librairies :
- picamera
- adafruit-circuitpython-gps
- gpsphoto
- exifread (required by gpsphoto)
- pillow (required by gpsphoto)
- piexif (required by gpsphoto)
- simplekml
You can download the Raspbian operating system and install it on your Micro SD card using Win32DiskImager. For this project, I used 'Raspbian Buster with desktop and recommended software'. It might work with other Raspbian distros but I have not tested it.
Once you boot up the Raspberry Pi, open the Terminal and run :
sudo raspi-configUsing the arrow keys select 'Interfacing options' and press enter. You should now see the 'Camera' option. Select it and press enter again to enable the camera. Finally, reboot the Raspberry Pi.
If you don't see the 'Camera' option, return to the terminal by pressing escape twice and run :
sudo apt-get updatethen
sudo apt-get upgradeYou should now see the 'Camera' option when you are in the 'Interfacing options'. Once the camera is enabled, reboot the Raspberry Pi.
If you wish to install virtualenv on your Raspberry Pi, simply run :
sudo pip install virtualenvYou can then set and activate your python environment with the following commands :
virtualenv YOUR_PATH --python=3.7
source activate YOUR_ENV/bin/activate
pip install picamera adafruit-circuitpython-gps gpsphoto exifread pillow piexif
Note : You could also install the python librairies without using virtualenv.
This program should run at start-up and open a preview window showing the camera view. You can then press the trigger button to take a picture.
Creates a compressed folder containing a KML file and the pictures from every directories from the 'IMG' foler. It then compresses the folder containing the kml file and the pictures and sends the zipfile by email.
Content of the email :

Each zip file attached to this email contains :
- A kml file
- Pictures
You can open the kml file using Google Earth Pro.
To open the kml file :
- Make sure Google Earth Pro is installed on your computer (if not, download it here)
- Download the attachment
- Extract all of its content
- Double click on the kml file.
Visit the PiCamexif GitHub page
