This project / repository keeps all of the relevant code for running the web services behind Readify.
Readify itself is a link sharing site. The general idea is something similar to delicious by helping users save links they find interesting, but don't have time to read yet.
It allows tagging links and has rudimentary social networking. No following is built in yet, but you can view another user's profile and see what links they saved recently.
Readify builds from ListSurf by adding more sophisticated link handling, user profiles and a more robust JSON API.
Users can mark a link as "liked" or they can delete or archive links. User's also have profiles and a settings page. On the settings page a user can configure a URL for an avatar or Gravatar will be used with the user's email address.
Running it currently can be easy. But first, we'll fetch the code and set a few assumptions for the instructions.
$ git clone https://github.com/j2labs/readify.git
$ cd readify
Readify uses MongoDB. If you don't have it installed, I suggest you try the Quickstart guide.
To setup Mongrel2, we first load the config into a sqlite data and then turn it on.
$ m2sh load -config ./etc/m2.conf -db ./etc/the.db
$ m2sh start -db ./etc/the.db -every
The -every flag says to turn on every host in Mongrel2's config. Readify is
configured to support two domains: web.app & api.app.
If you want to run this locally, just add these two lines to your /etc/hosts
and we can fake the DNS for now.
127.0.0.1    web.app
127.0.0.1    api.app
I know this look weird, but it keeps development nice and easy when you're running multiple services, like an API and a web site.
Let's make a virtualenv and install the requirements.
$ mkvirtualenv readify
A standard readify install should use ./etc/std.reqs.
(readify) $ pip install -I -r ./etc/std.reqs
Then install readify itself.
(readify) $ python ./setup.py install
In this terminal, enter the following command to turn on the web server.
(readify) $ ./bin/web_server.py
We'll turn on the API server in the other terminal. We have to enable the environment here too.
$ workon readify
(readify) $ ./bin/api_server.py
Readify is a simple link saving mechanism. After creating an account, I recommend going to the submit link to save a link. This gets the experience started by adding a link to your dashboard.
From there you can like it. You could archive it, or delete it. You can also visit your user's profile, but it will be empty until you visit the settings page.
And also try using the bookmarklet provided on the submit page. This will make saving links for later much easier.
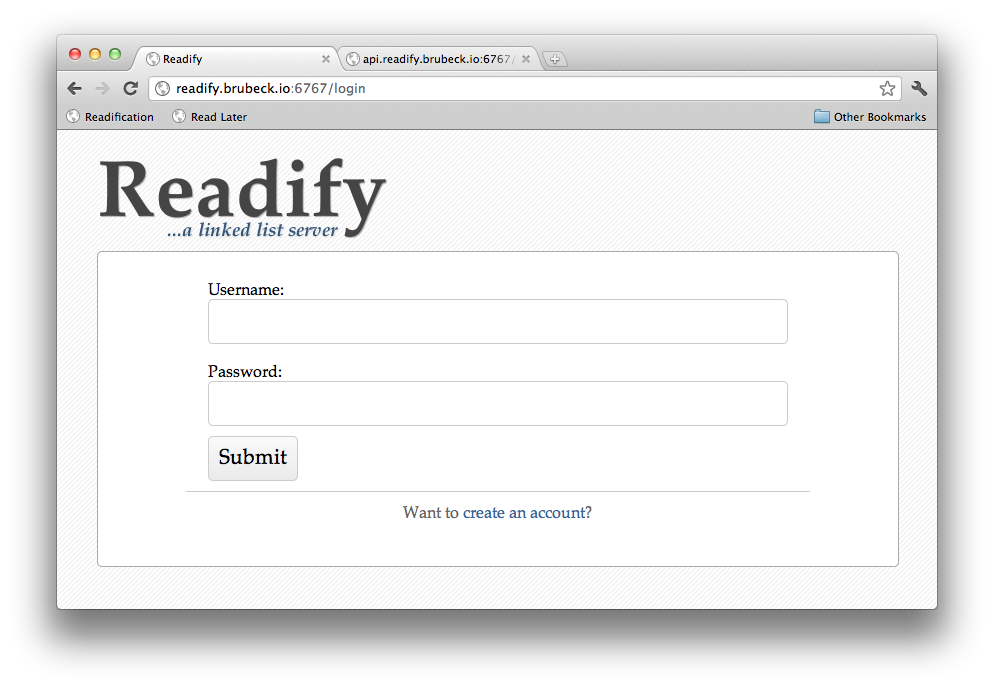
Login screen.
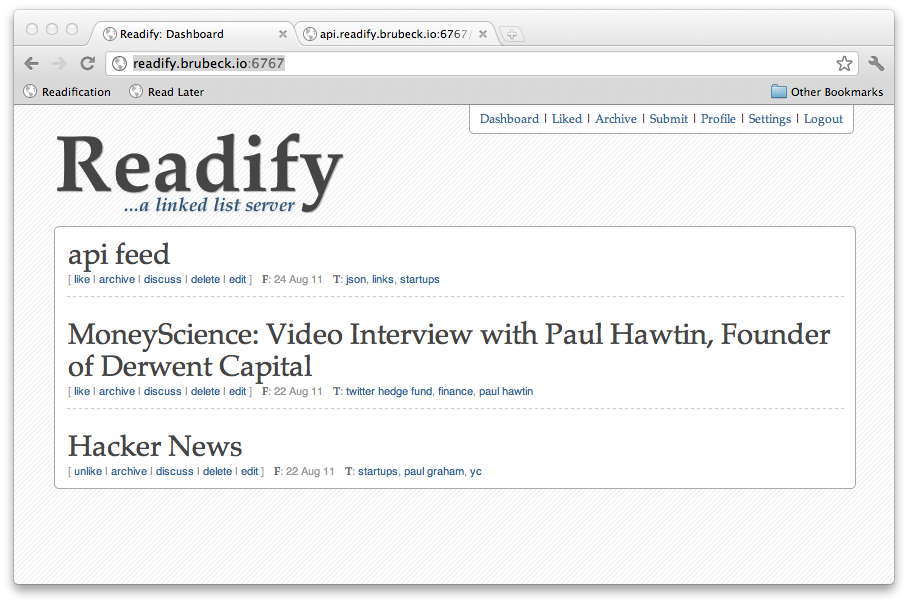
Link dashboard.
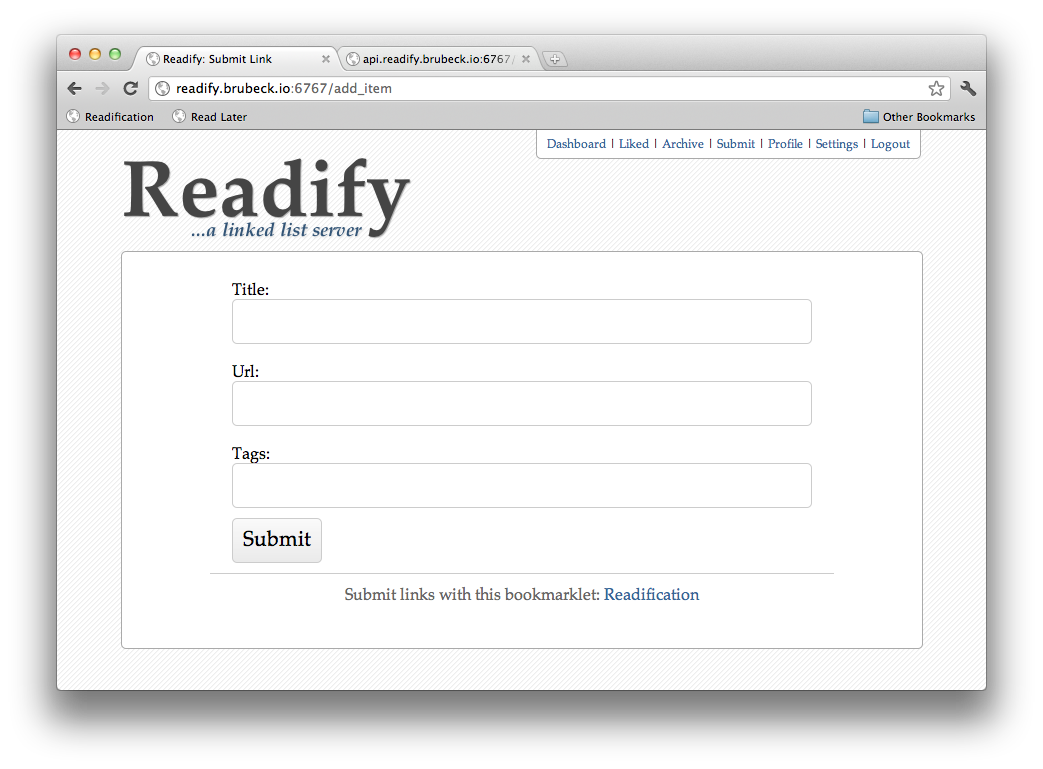
Submit a link.
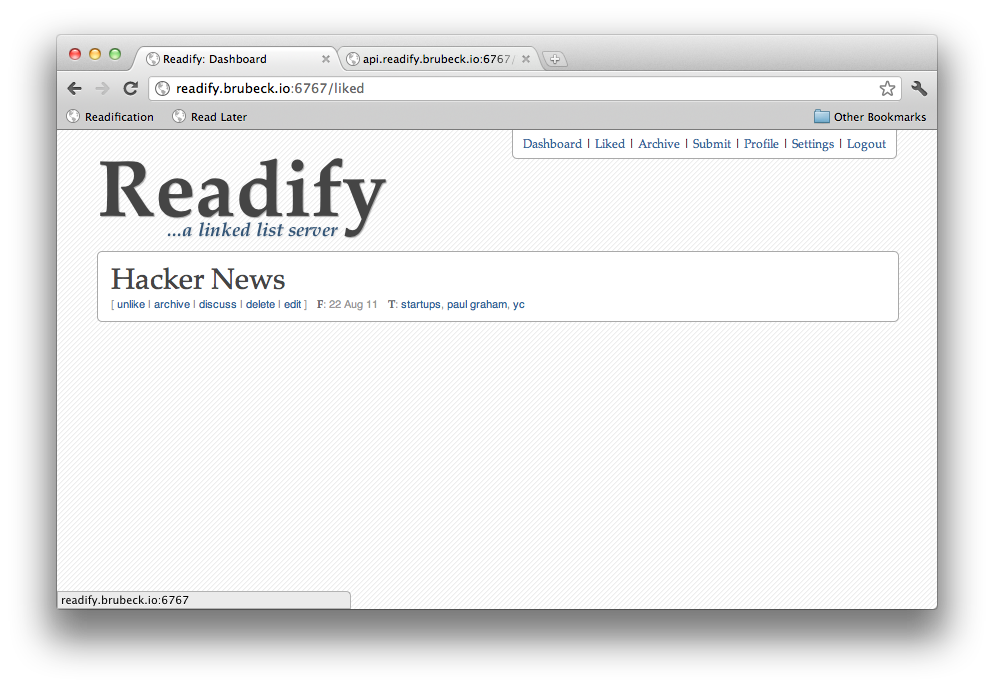
Liked links.
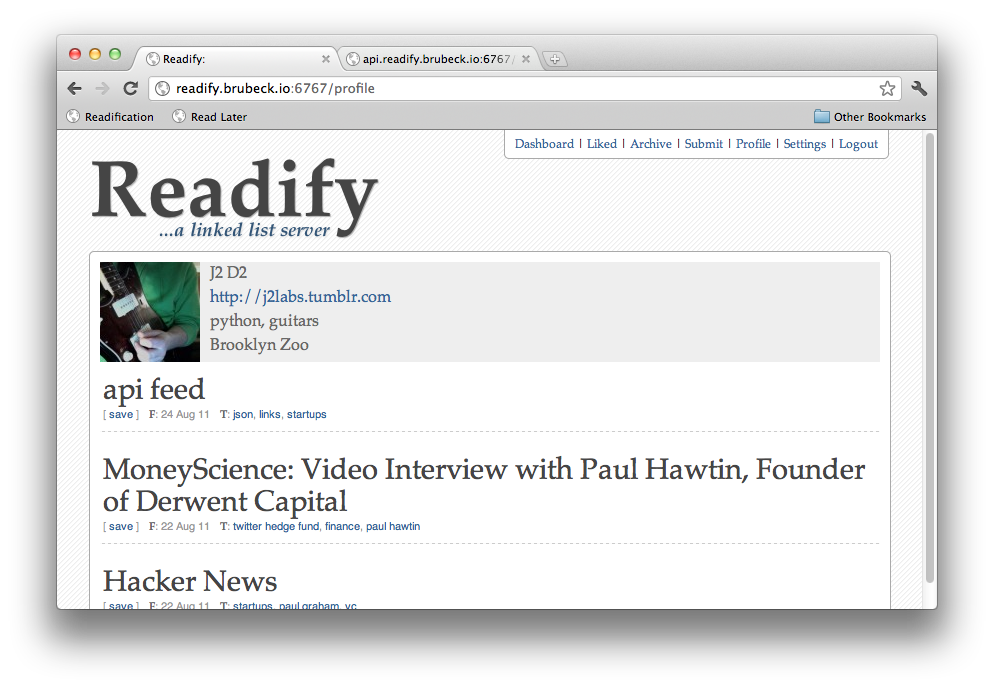
User profiles.

Settings.
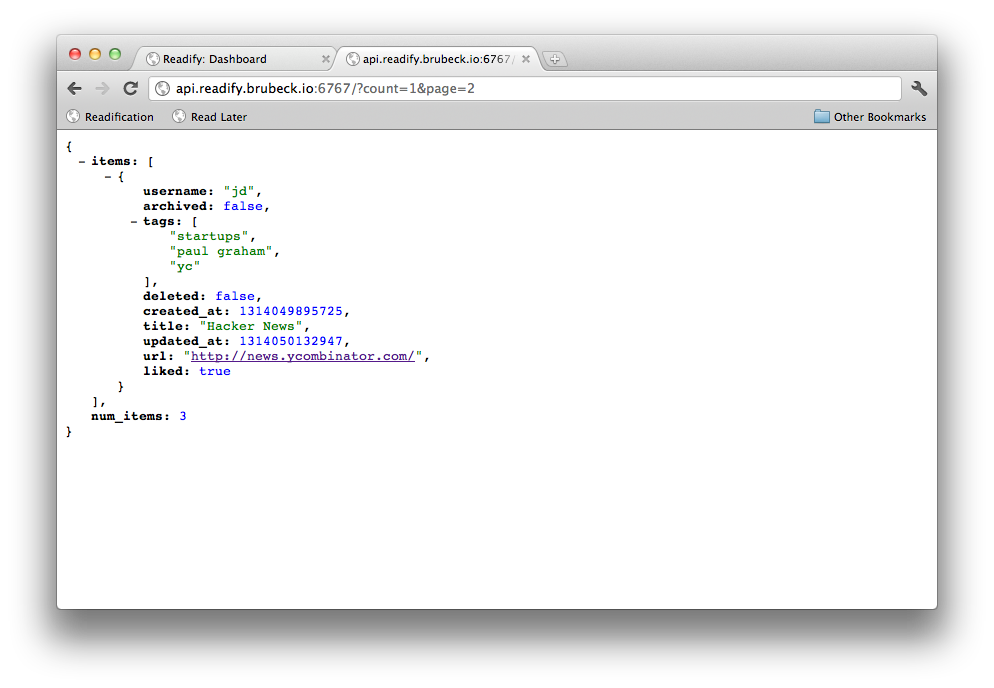
Paginated JSON API.