######CKS Tour and Shift Management Documentation
- To login, visit the site and click the "Login with @College" button. This will bring you to a Google OpenID login page. Enter your @College email and password. Authentication is entirely handled by Google, so it's just as secure as logging into Gmail. The only information sent to the CKS site is your email address and name, which are used to find your account.
- Right now, only board members are able to access the site. Each board member has permissions to use the site within the scope of their role. For example, the tour coordinators can add new tours and the treasurer can mark whether certain members have paid their dues. All board members can add and edit shifts and see the Month View and Roster pages.
- Go to the month on the month view page, or click the Months button in the navbar and select Initialize Month
- At the month initialization page, deselect days during which the Info Office is closed. Only days that the Info Office is normally open during should be deselected. Normal Sundays (those not during vacations, etc.) should not be deselected. Note that tours can still be added later on for these days (e.g., if we have a Marshall's Office tour on one of these days). Month intializations can also be edited or completely undone after the fact (see below). Still, it's easiest to try to get the initialization right the first time, so be sure to check the Info Office calendar before proceeding!
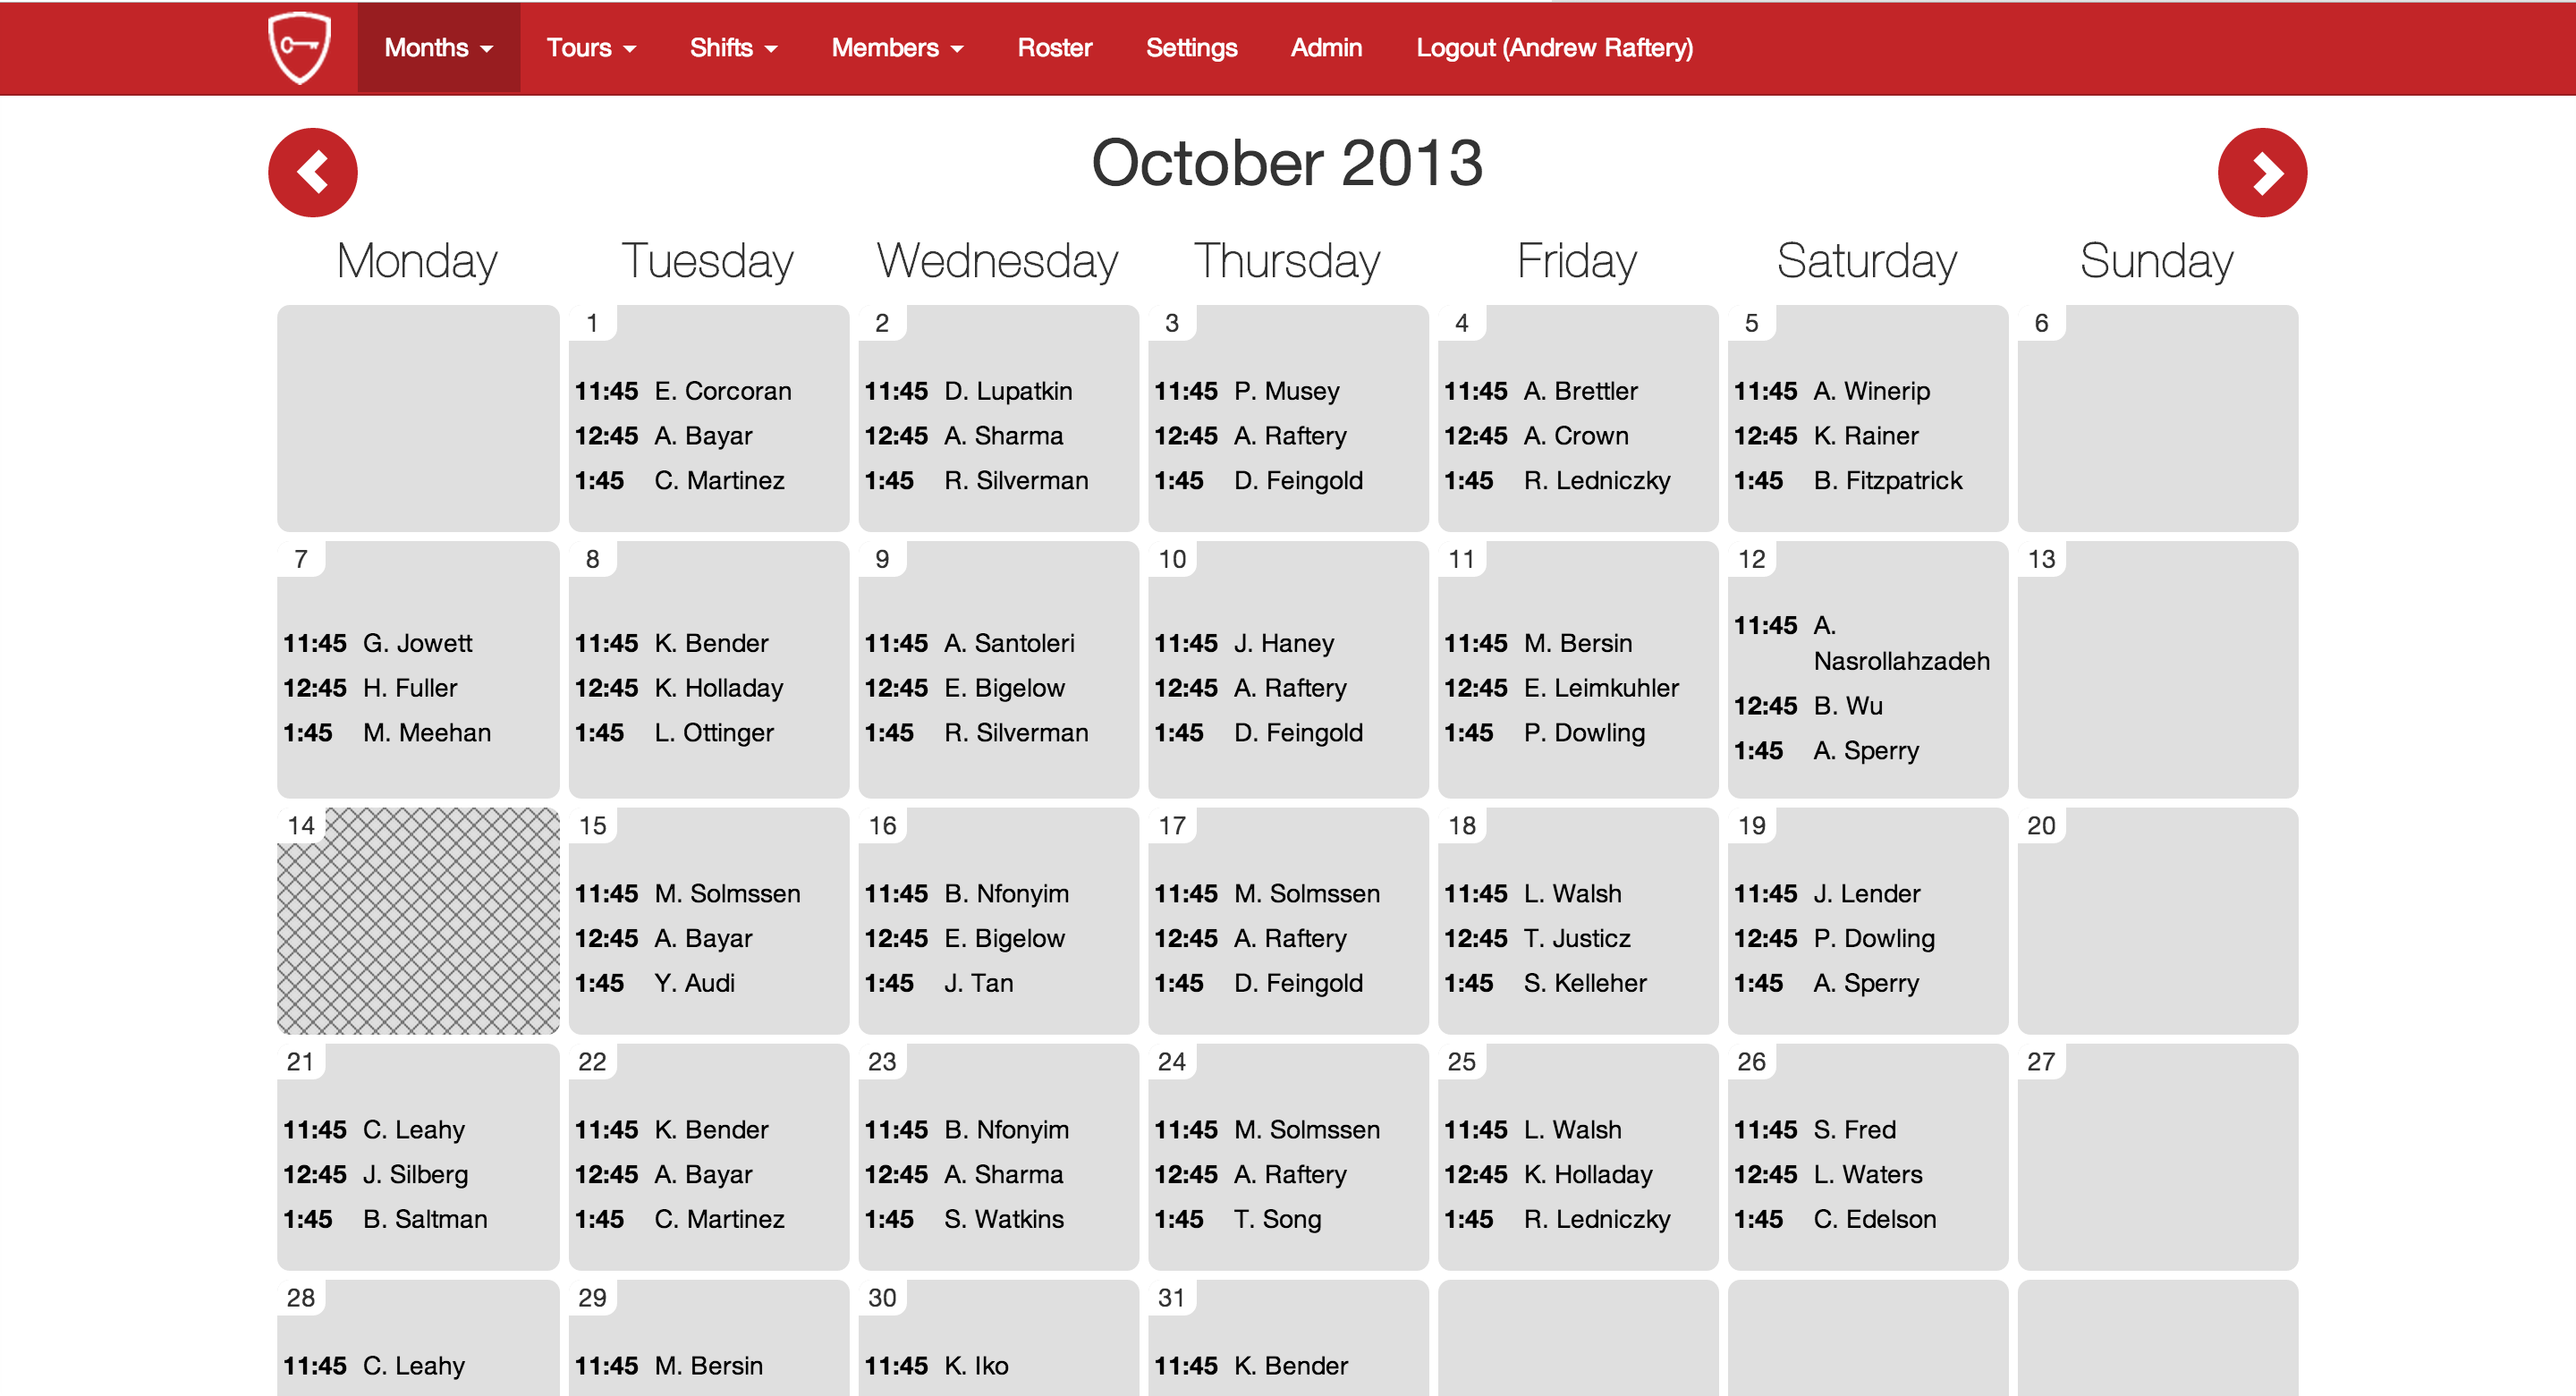
- Click submit, and the selected days will be populated with default tours (as defined in the Settings). Initialization is now complete. You'll be brought to the View Month page, where you'll see a calendar of all the tours for the month. Note the key in the bottom left of the page. Unclaimed tours will be highlighted red, late tours will be written in yellow/orange, and missed tours will be red. Normal tours that have been claimed will be black. Any tour can be clicked on and edited.
Note: You can now open the month to allow members to sign up for tours using the public site, or bulk-edit the month (see here, method 2) to manually enter tours (e.g., from a Google Doc).
- To edit a month intialization, click the "Edit Month Initialization" button in the "Actions" panel on the View Month page.
- After fixing the month initialization, click "Submit" to save it. Any previously selected days that were deselected will be marked as such, and default tours (created during initialization) that were on that day will be deleted. For any days that were previously deselected that are now selected, default tours for that day will be created (marked automatically as "Unclaimed").
- To completely undo a month initialization, click the "Uninitialize Month" button on the Edit Month Initialization page.
- Note that this will delete all default tours (tours created during initialization) will be deleted, but all other tours will be left alone. It will also close the month if it had previously been open.
- Months can be "opened" so that all active members can claim unclaimed tours. This replaces the old practice of signing up for tours on a Google doc.
- To open a month, go to its view page and click the "Open Month" button in the actions panel.
- Select a closing date and time on the next page. This date cannot be after the month you're opening.
- You'll be brought back to the month's view page, which you'll now notice has a green message alerting you that the month has been opened. This message will also contain a link to the month's public page, where any active Key member can login and claim tours. You should send this link out to the membership.
Note: Only initialized months, and only the current or future months, can be opened.
#Managing Tours ###Editing Tours
- Method 1
- Click on a tour on the View Month page to edit it. Here, you can change all the information about a tour, including the time and date, the guide who's leading it, the length (in minutes), and the source (office it's through). You can also mark the tour as late or missed, and add notes. Any notes you add before the tour date will be sent to the tour guide in the reminder email the night before the tour. This is ideal for information like where to meet a tour group or special topics that they're interested in.
- Make sure to keep up with tour guide changes and marking tours as late or missed. If tour guides change but you forget to change it in the system, the wrong person will be sent the tour notification. There's no reason to upkeep a Google Doc after the month initialization; just use the site to keep track of things after that.
- Method 2
- You can also bulk-edit all tours in a given month using the Month Edit page. To get there, use the View Month page (the "homepage"), navigate to the month you want to edit, and click the "Edit Month" button under the "Actions" panel.
- Here, you can change the tour guide of any of the tours, all at once. Just click "Submit" when done to save the changes.
- Tours can be deleted by clicking the "Delete this Tour" button on the right side of the Edit Tour page.
- Trying to delete a Default Tour (that is, tours created during the initialization process) will bring you to a confirmation page first.
Note: Tours should not be deleted after they're completed, or if the tour guide drops out and cannot take it. Tours in the former case should just be left (this will allow the system to keep track of requirements), those in the latter case should simply be marked as "Unclaimed" (by changing the guide to "Unclaimed") until someone takes it. If the tour is outright canceled, i.e., it never takes place, then it should be deleted.
- To add an individual tour (like a Marshall's Office tour, or an extra Info Office tour, etc.), click the "Tours"" button in the navbar, and select "New Tour" from the dropdown. This will bring you to the New Tour page.
- This process is very similiar to editing a tour. Clicking submit will create the tour and bring you to the View Month page for whatever month the tour is during.
Note: You can create a tour this way without initializing the month that the tour is in. You can also create a tour on a day that has been marked as "canceled" during initialization without any problems. This is helpful on a day that, for example, the Info Office is closed, but we have a Marshall's Office tour. In addition, tours created before the initialization process will never be deleted during it, even if the day it's on is marked as canceled.
- The Roster page is probably one of the most useful features of this site. On it is a full view of all members of CKS, with their name, email, phone number, and other information. It also shows how many of their tour and shift requirements each member has completed, and whether they've paid their dues (if the semester being viewed is a semester during which members have to pay dues, see Settings for details).
- Each tour and shift is represented by a circle. You can hover over each circle for more information about it, or click on it to be brought to its edit page.
- For an easier view of which members have fulfilled their requirements, click the "Toggle Requirement Status" button in "Actions" panel. This will switch the last few columns to a more simple red/blue/green color for each member, with a number or date within each cell. The colors correspond to the member's status (green = complete, blue = projected to complete, red = incomplete), and the number represents the number of tours or shifts the member must complete to fulfill their requirements. A date within a blue cell represents the date on which the member is projected to fulfill that requirement.
- If the current semester is one during which members pay dues (as per the Settings), you can mark dues as paid or not from the Roster page. To do that, click the "Toggle Dues Payment Form." This will replace the circles in the "Dues" column with checkboxes. Simply check off the box for each person who has paid, and click the blue "Submit" button in the "Actions" panel to save your changes.
- Each semester has its own distinct roster page. By default, the current semester is shown, but you can see the roster for any semester in the past or future by navigating them using the arrow buttons at the top of the page.
- Members who have been marked as inactive for the semester are hidden by default. If you'd like to see these users (e.g., to see their phone number or to edit their information), click the "Toggle Inactive Members" button in the "Actions" panel.
#Managing Members ###Editing a Member
- To edit a member's information, including their name, email address, graduation year, etc., click the edit icon for the person in the roster page
- Some things to note on this page:
- Be careful changing a member's Harvard email. It's used for their login information. If it's incorrect, the member will not be able to login to the site.
- Members can be marked as inactive for a semester by clicking the "Add" button in the "Inactive Semesters" panel on the right side of the page. This is useful for hiding members that take a semester off. Members who are marked as inactive for a semester won't be able to be selected as tour or shift guides, and will be hidden unless the "Toggle Inactive Members" button is clicked on the Roster page.
- You can override the default tour and shift requirements on a per-member, per-semester basis by setting "Special Requirements" on this page. This is useful for members that have to make up requirements from previous semesters. Note that you can only set special requirements for the current semester.
###Adding a Member
- To add a member, click the "Members" button in the navbar, and then select "New Member" from the dropdown.
Note: Adding new members should typically be done only by the secretary in the Spring after Comp.
- Currently, support for shifts is not quite as fleshed out as that for tours. There is no equivalent full month view for shifts, and there is no auto-reminder mechanism for shifts. As of right now, the site should be used to record already completed shifts (including those that were late or missed). Essentially, this should be used in place of the "Tour Log" Google Doc.
###Adding a New Shift
- To add a new shift, click "Shifts" in the navbar, and select "New Shift" from the dropdown.
- Adding a new shift is very similiar to adding a new tour, except that shifts cannot be marked as "Unclaimed," since they're intended to be added only after they're completed.
- Once you've submitted a new shift, you'll be brought to the roster page for the semester that the newly-created shift is in.
###Editing a Shift
- The only way to access the edit shift page for a given shift is by clicking on that shift's circle on the Roster page.
- Once accessed, the shift edit page works very similiarly to the new shift page.
###Deleting a Shift
- This can be done by clicking the "Delete Shift" button on the Edit Shift page.
- On the Settings page you can edit some site-wide options, like the default number of required shifts and tours, whether email and text reminders should be sent, and when, if ever, dues are collected.
- You can also set add default tours or edit existing ones. You can also delete existing default tours on the edit default tour page.
- Default tours are used during month initialization
- The "public" site is available at /public. Here, any active member can login with their Harvard email
- On this site, membrs can view who has signed up for tours in the upcoming months, view which tours or shifts they've signed up for or completed, and claim tours if a month has been opened by the tour coordinator
- On the Profile page, members can see their tours and shifts from the current semester, and view their requirements status
Note: If you're a board member with access to the "full" version of the site, there will be a link in the public site menu to the "Full Site." You should still use the public site to sign up for tours when possible.
- The Admin panel for the site is available only to Site Admins
- This provides a lower-level way to manage site data. It should only be used when the site's normal interface can't be (e.g., in the event of a bug), since changes to data in the admin panel are not validated as strictly. Editing data using this interface incorrectly can lead to data corruption, so be sure only to make these changes if you know what you're doing.
- These are some smaller features that the site supports that are not detailed above:
- Automate requirements emails
- Generate V-Cards
- Track semester, year, and all-time tour and shift statistics