This repository contains the code for the NELCA ppe stock management system, helping track personal protective equipment stocks to support distribution.
To see more screens from the application, please head to the wiki
If you'd like to see this system in action, a demonstration environment is available as follows:
- Portal: https://demo:password@ppe-inventory-demo-mf2rj3t7eq-ew.a.run.app/ (username: demo, password: password)
- Dashboard spreadsheet: https://docs.google.com/spreadsheets/d/1csuprj90P3EutWy05lcKsfl2QDTtNQhz0Jj97oum0jQ
- Community spreadsheet: https://docs.google.com/spreadsheets/d/1NIoqxTiiqi2p2zXGDIu1jMAeoni-jL4SWJ3zlidfdw8
- Example data entry registration links:
- Mile End Hospital (the full list of demo sites is available in acute_sites.csv)
- Abbey Medical Centre (the full list of community provider sites is available in acute_sites.csv)
If you'd like to set up a copy of this system for yourself, here are the steps. Please also refer to this Github Actions workflow
To deploy this repo you'll need to be set up for developing with Google Cloud:
- You'll need a Google identity. If you have a Google account, you can use that. If you don't have a Google account you can either register one, (@gmail.com) or you can create an account for an email address you already have (for example, a work email address). Head to https://accounts.google.com/signup and optionally click the "Use my current email address instead" link.
- You'll need access to a Google Cloud Platform (GCP) account. Go to https://console.cloud.google.com/ to get started. You may need to enter a credit card, but you won't be charged unless you explicitly upgrade your account.
- From the Google Cloud Console, create a project to deploy this repository to.
- The project may take a minute or two to be set up. Once it's ready you'll be able to select it from the projects drop-down at the top of the screen.
- Make a note of your login email address (your Google identity)
- Make a note of the project ID (this can be found in the projects dialog when you click the projects drop-down at the top of the screen)
- Install the Google Cloud SDK
- Log in to the Google Cloud SDK using
gcloud auth loginon your command-line using your google identity (e.g. example@gmail.com). This will pop up a browser for you to authorise access. For more information see: https://cloud.google.com/sdk/gcloud/reference/auth/login
The following steps walk through deploying a copy of this repo to your GCP project:
- Start by cloning or forking this repo
- Create two Google Spreadsheets (e.g. via https://drive.google.com, or by taking a copy of the spreadsheets from the demo environment) - these will serve as your acute and comunity dashboards. Make a note of the sheet ID (e.g. for
https://docs.google.com/spreadsheets/d/1A-HL1x1s81ZGCgg_cmYK27NNPk1uQjAZcwd8O6yrJ18/edit#gid=0the sheet ID is1A-HL1x1s81ZGCgg_cmYK27NNPk1uQjAZcwd8O6yrJ18) - Make a note of the name of one of the worksheets in your spreadsheet (e.g.
Sheet1orStatus) - this is where data will be reported. - locate the
.github/workflows/folder and examine thetest-pipeline.ymlGithub Actions workflow file. Thedemo-pipeline.ymlworkflow provides additional reference information. - If you'd like to use Github actions for deployment, you'll need to set Github secrets on your copy of this repo. If you'd like to deploy to your GCP project using another mechanism, you'll need to adapt the deployment steps from workflow files.
- NB you'll need to sign up for an Okta account to generate some of the values needed to successfully run the
portalcomponent. - You'll need to create a service account (https://console.cloud.google.com/iam-admin/serviceaccounts). This is used for deployment from Github Actions and for running scripts that populate the database (see below). Once you've created the service account you'll be able to create and download a Json-format key
- To use the service account key locally, set a
GOOGLE_APPLICATION_CREDENTIALSenvironment variable that references the file. - To use the service account key in the Github actions workflows, you'll need to Base-64 encode it, as described in the setup-gcloud documentation
Once you have successfully deployed, the following additional steps need to be completed:
- Navigate to Datastore in the GCP console (https://console.cloud.google.com/datastore). If this is not yet enabled, click on "Select datastore mode" and select a region (e.g.
europe-west2 (London)) - Grant edit permissions on your Google Spreadsheet to [
project_id]@appspot.gserviceaccount.com (e.g.ppe-inventory-demo@appspot.gserviceaccount.com)"
After completing the steps above you'll be able to create sites to test with.
- To create acute sites, run
scripts/create-acute-and-test-sites.py- you'll need to provide your cloud functions domain as a parameter - To create community sites, run
scripts/add-providers.py- you'll need to provide your cloud functions domain andprovider_sites.csvas parameters
NB you'll need a service account key from GCP to run these scripts. For example:
GOOGLE_APPLICATION_CREDENTIALS=ppe-inventory-demo-abc123.json python create-acute-and-test-sites.py europe-west2-ppe-inventory-demo.cloudfunctions.net
GOOGLE_APPLICATION_CREDENTIALS=ppe-inventory-demo-abc123.json python add-providers.py europe-west2-ppe-inventory-demo.cloudfunctions.net provider_sites.csv
To verify a successful setup check the following work for you:
- You should now be able to log in using one of the registration links, e.g.: https://europe-west2-ppe-inventory-demo.cloudfunctions.net/register?site=Avon%20Road%20Surgery%20RM14%201RG&code=9ec4f625-82d3-4757-a43d-655cb7ce1ce1
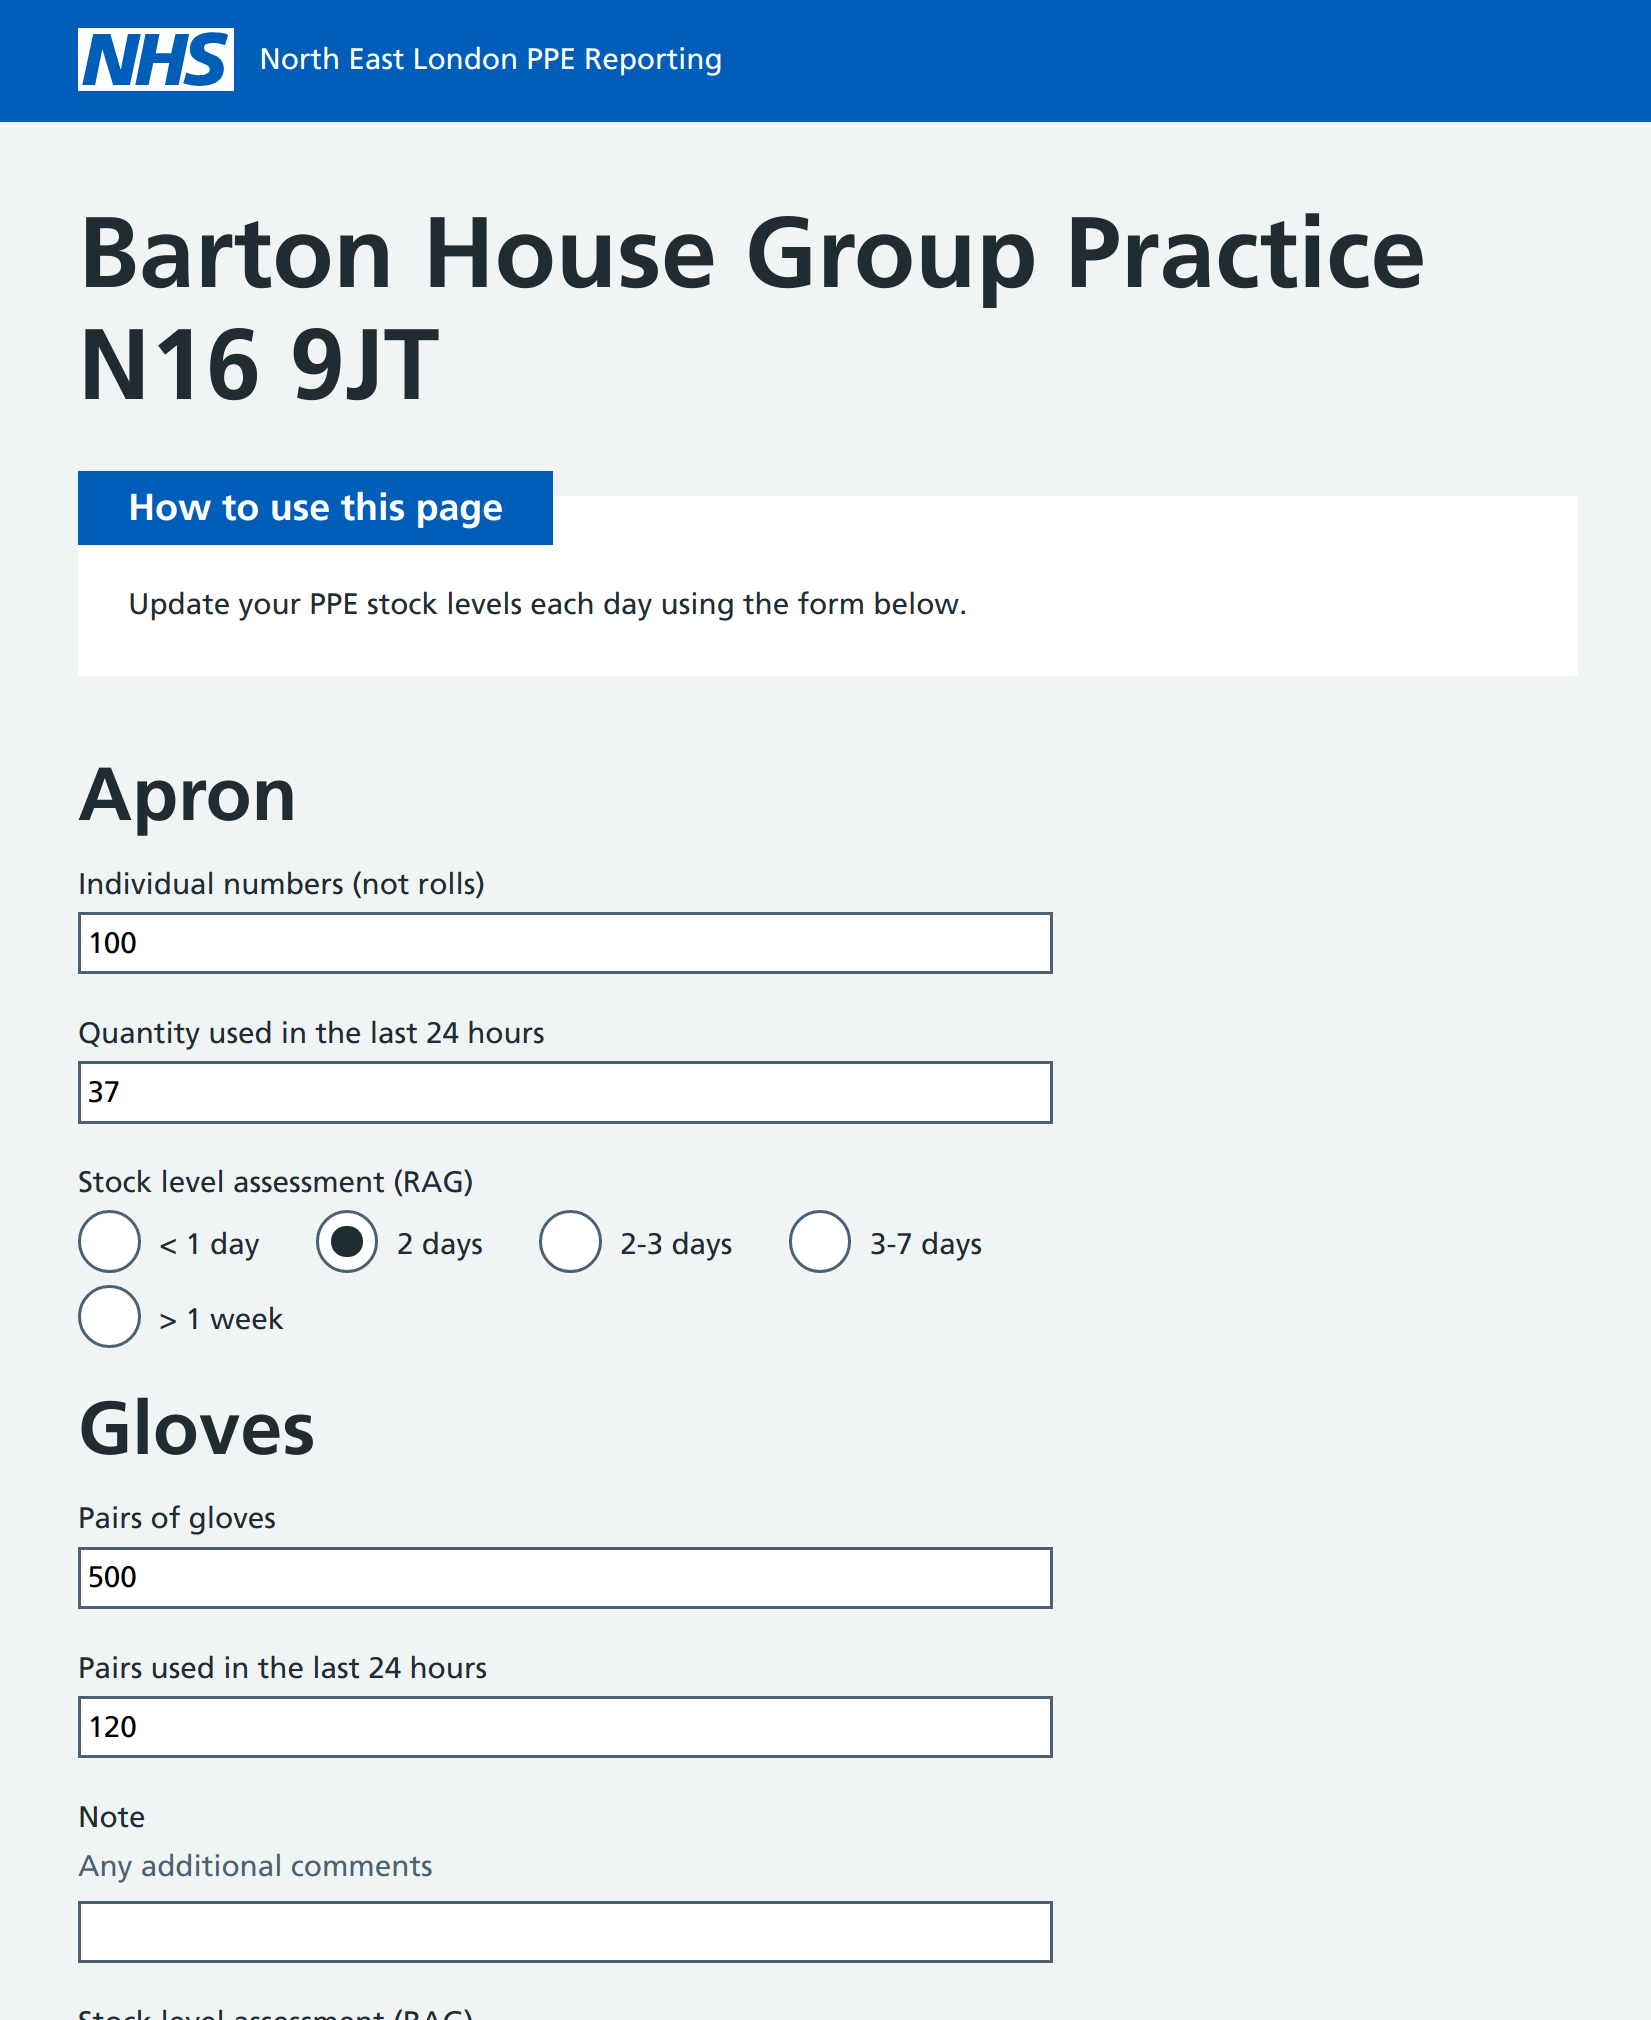
- Once logged in, you should be able to access the data entry form directly: https://europe-west2-ppe-inventory-demo.cloudfunctions.net/form
- You should also be able to navigate to the portal: https://demo:password@ppe-inventory-demo-mf2rj3t7eq-ew.a.run.app
BDD tests are provided in the features directory. Those tagged with @pipeline will run automatically during CI/CD build deployment.
Some tests e.g. those that could modify the datastore, are excluded from running automatically and should be run manually. For example, to run the tests for adding new providers use the following command:
behave --tags=@new-providers
Several environment variables will be used to configure the tests so these will need to be set e.g.
export DOMAIN=**************************.cloudfunctions.net
export VALID_PROVIDER_NAME=********
export VALID_PROVIDER_CODE=********
Also, this test will need valid gcloud configuration to run locally e.g.
export GOOGLE_APPLICATION_CREDENTIALS="ppe-inventory-dev.json"