IMPORTANT: Information about changing the URL for your local repo's origin is at the bottom of the file
-
Python 2.7 http://www.python.org NOTE: You might get an error when trying to install pybonjour if you are using the system installation of python2.7. It might be easier to
brew install pythonand then set your python path in your .bash_profile to be:PYTHONPATH=/usr/local/bin/python2.7:$PYTHONPATH export PYTHONPATH -
Processing 2.2.1+ (for simulator only. Processing 3 is not supported yet) http://www.processing.org
There are a few 3rd party python modules that need to be installed:
- Python:
- cherrypy
- pybonjour
- Processing:
- G4P
- Shapes 3D
Install python modules with easy_install (You can also use pip if you have a preference) For example:
easy_install cherrypy
To install pybonjour, you need to use the repo from google code
pip install https://storage.googleapis.com/google-code-archive-downloads/v2/code.google.com/pybonjour/pybonjour-1.1.1.zip
Don't worry too much if you can't get some of the dependencies to install - you'll still be able to run the software, just with some features missing. Python and Processing are the most important parts if you just want to write shows.
The Processing libraries are pretty reliable to install.
- Open Processing
- Go to the Sketch menu
- Select "Import Library" then "Add Library"
- In the dialog window that opens, search for "G4P" then search for "Shapes 3D". Both are by Peter Lager because apparently he does good work.
Unlike the python code, without those libraries the simulator won't run. The good news is that they are easy to install.
Raspberry Pi Note:
You need to first install the python-pip package using apt-get, then use
pip to install the two dependencies.
More notes at the end about installing these things
First, check out the repository:
git clone git@github.com:baaahs/lights.git
(or alternately git clone https://github.com/baaahs/lights.git )
(Note, the old repo for 2014 used hg instead of git and was at http://bitbucket.org/grgbrn/baaahs2014)
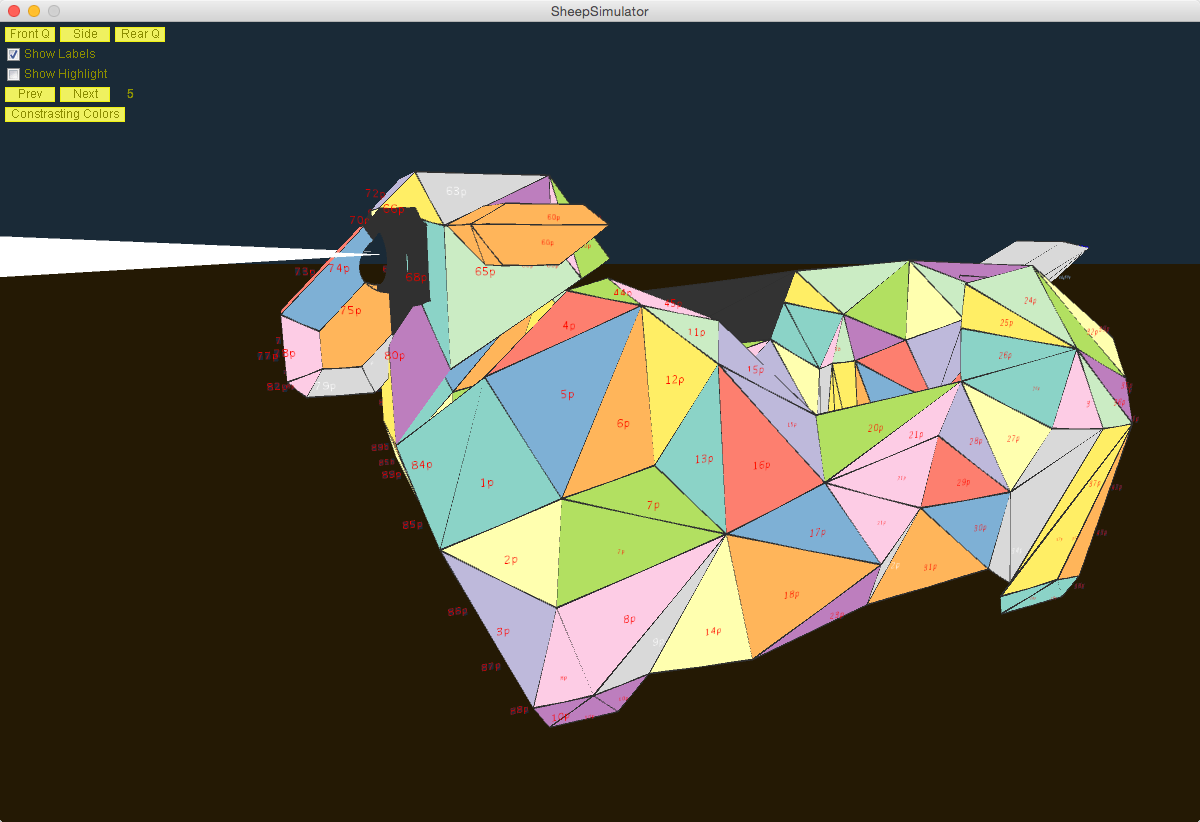
The simulator lives in the 'SheepSimulator' directory. Open the file 'SheepSimulator.pde' in Processing, and run it.
To start the lighting software talking to the simulator:
python go.py --simulator
You can also specify which show to run by using the name of the show:
python go.py --simulator MyShow
You can also choose which show is running through the web interface:
This means writing a Python class that adheres to the show interface. Shows can now control both panels and/or eyes. We definitely need more eye controlling shows 'cause that's the newest thing.
See the files in the 'doc' directory for details.
You have some options here. The basic thing that has to get accomplished is your .py file with your show in it (see above) needs to get added to the repository. The preference is to do this by submitting a pull request to the master branch of the repo.
You can either fork the code on github (which anyone can do at anytime), make your changes, and then submit a pull request. This is perhaps the easiest way to jump in because anyone from the Intarwebs can do so at any point without needing any permission or anything like that.
- Fork the baaahs lights repo
- Go to the forked repo on your github account
- Clone the repo onto your dev enviornment
https://github.com/YOUR_GITHUB_USER_NAMEHERE/lights && cd lights
- Set up an upstream remote to the BAAAHS repo
git remote add upstream https://github.com/baaahs/lights
- Create a new branch that you can do work on
git checkout -b show/MyCoolLightShow- Switch to that branch using:
git checkout show/MyCoolLightShow
- Go do some work, write some shows, do fun stuff, save that new light show.
- Add that file with:
git add ./shows/MySuperCoolLightShow.py
- Commit those files to your local branch and include a nice message describing the thing you did
git commit -m "Created a new light show called MySuperCoolLightShow"
- Sync up your branch with the baaahs repo master branch
git pull --rebase upstream master
- (If necessary): Fix any merge conflicts, add those files using
git addthengit rebase --continue - Push up the commits to your fork on github
git push origin show/MyCoolLightShow
- Submit a pull request on the baaahs lights repo page and request to merge your branch
show/MyCoolLightShowintomaster
An alternate way to contribute is to simply clone the repo locally, make your own branch, commit your changes to your branch, then push them and finally create a pull request. To push your changes you will need to be added as a collaborator, which any of the other collaborators should be able to do. Bothering Tom Seago is a good way to get this done. The downside here is that you need to be careful to be working on your branch not the master branch.
For more info about how pull requests work, see https://help.github.com/articles/using-pull-requests/
The alternate alternate path is to simple email/fb/carrier pigeon your .py file to Tom S. He's not in love with this plan, but will get it added eventually if you do so.
Lighting can be controlled wirelessly over OSC. We're using TouchOSC, which is available for iOS and Android. (It costs $4.99, but it's worth it, we promise!)
You'll need to install the app on your phone or tablet, then install a layout.
- Download the TouchOSC Editor from the TouchOSC page (scroll down to 'Downloads')
- Open the show control layout from the baaahs repository (misc/BAAAHS Main.touchosc)
- Click 'Sync' in the TouchOSC Editor menubar and follow the on-screen instructions
For more details on controlling shows with OSC, check the 'doc' directory in this repository.
Communicating with the hardware requires OLA.
OS X:
brew install ola --with-python
Debian / Ubuntu:
To build from source see https://www.openlighting.org/ola/linuxinstall/
Since Jessie/Xenial OLA has been in the main repos, so just: sudo apt-get update sudo apt-get install ola ola-python
More info about pre-built packages is at http://opendmx.net/index.php/OLA_Debian_/_Ubuntu
Note that page doesn't mention trusty, which is Ubuntu 14.04 LTS, but there is a version in the repo that exists for that. Thus you can do the following on 14.04:
sudo echo deb   http://apt.openlighting.org/ubuntu trusty main >> /etc/apt/sources.list
sudo apt-get update
sudo apt-get install ola ola-python
Raspbian:
To build from source see https://www.openlighting.org/ola/linuxinstall/
Since Jessie/Xenial OLA has been in the main repos, so just: sudo apt-get update sudo apt-get install ola ola-python
sudo echo deb http://apt.openlighting.org/raspbian/ wheezy main >> /etc/apt/sources.list
sudo apt-get update
sudo apt-get install ola ola-python
Trouble installing python dependencies? Try some of these magic incantations:
OS X:
The system python might not be happy on El Capitan. Easy work around is to install from homebrew
brew install python
That should then give you pip, so you can do the following:
pip install --no-use-wheel CherryPy

pip install setuptools-git
pip install --allow-external pybonjour pybonjour
# The pybonjour install will probably fail on El Capitan. See below
# for how to install from 'source' BUT, instead of using the google code
# source, you are going to want to get this repo [El Capitan Fixes for pybonjour](https://github.com/jamezilla/pybonjour)
Debian / Ubuntu:
apt-get install libavahi-compat-libdnssd1

pip install --allow-external pybonjour --allow-unverified pybonjour pybonjour
For whatever reason pybonjour seems problematic via the package managers. You may have better luck if you download pybonjour and unpack it from the distribution. It's on Google Code
cd pybonjour-1.1.1
# You may not need the sudo for this - try it without first
sudo python setup.py install
So this repo used to be hosted under tomseago's account, but then got moved to the baaahs organization. That means that if you had it checked out before and you try to update or push, things will fail because it ain't where it used to be. But don't worry, there is an easy solution for this. Two in fact.
The first solution is that if you never made changes, then you can easily nuke your old directory and re-clone the repo from the baaahs org. This is super easy and there is no magic.
The second solution is for all 3 of you who might have uncommitted changes. Your work isn't orphaned, you just need to use git remote to update the URL for what's known as the origin remote. On my system it went something like this:
Zerg:baaahs2015 tseago$ git remote -v
origin  git@github.com:tomseago/baaahs2015 (fetch)
origin  git@github.com:tomseago/baaahs2015 (push)
Zerg:baaahs2015 tseago$ git remote set-url origin git@github.com:baaahs/lights
Zerg:baaahs2015 tseago$ git remote -v
origin  git@github.com:baaahs/lights (fetch)
origin  git@github.com:baaahs/lights (push)
Zerg:baaahs2015 tseago$
As you can see from the above, the relevant command is the line
git remote set-url origin git@github.com:baaahs/lights
That resets the url to the new name and all is happy and good. Note that I use SSH authentication with github. If you are using HTTPS authentication, then your url is going to be different. The git remote -v command conveniently shows you what the remote urls are set to currently, so it's likely you can look at the old ones to figure out the new ones. Because I'm nice though, I'll say that the https version of the url (which you can get on the http://github.com/baaahs/lights page on the right hand side) is https://github.com/baaahs/lights.git