Script that takes a baseline Linux Server and automates the configuration that secures the system from a number of attack vectors, serves a Postgresql database server and an Apache mod-wsgi server.
The Postgresql Database Server is configured to run in a Docker container that uses a docker data volume for easy migrations, backups and restores.
The Apache server is dockerized and linked to the Database Server container for a more secure communication style.
This repository uses the application from Udacity Full-Stack Nanodegree project 3 (in this case FlutterHub). To demo a working setup.
The server ip address is: 52.27.185.214, SSH port is: 2200, Full url is: http://52.27.185.214 or http://ec2-52-27-185-214.us-west-2.compute.amazonaws.com
- Linux Server Configuration
- Linux - Apache - Flask - Postgresql - Docker Containers
- Table of contents
- How to use:
- 1. If not already installed, install openssh Ubuntu 1
- 2. Install git
- 3. Clone the repository into /src
- 4. Login as root and run s1.sh from the “shell” directory Cyberciti 1`
- 5. The ssh port is now changed to 2200, exit to your machine, generate an rsa key and upload it to the remote server on port 2200 and user grader Digital Ocean 1
- 6. Login as root and run the seccond script
- 7. DONE! You should now have a working application everything set up.
- User Management
- Security / App Functionality Monitoring - Feedback
- 1. Enforce Key-based ssh UnixHelp
- 2. Make SSH accessible over non-default port 2200Digital Ocean 3
- 3. Update applications to their most recent updates recent updates. AskUbuntu 2
- 4. Configure the firewall to monitor for repeated unsuccessful attempts, appropriately ban attackers and provide automated security feedback. Digital Ocean 4
- Other Application Functionality
- Other Security / Functionality Configurations
- Description of the System
- Misc
- License
- Footnotes
1. If not already installed, install openssh Ubuntu 1
$
sudo apt-get openssh-server
$
sudo apt-get install git
$
sudo git clone[your source]/src
4. Login as root and run s1.sh from the “shell” directory Cyberciti 1`
$
sudo su
$sh /src/shell/s1.shhere you will be asked to configure unattended-upgrades, timezone, and the password for the new user “grader”
5. The ssh port is now changed to 2200, exit to your machine, generate an rsa key and upload it to the remote server on port 2200 and user grader Digital Ocean 1
ssh-keygen -t rsaset a file location (usually: /Users/you/.ssh/yourfile) - Mac
ssh-copy-id -p 2200 -i /Users/you/.ssh/yourfile grader@ip_addr
ssh -p 2200 -i /Users/you/.ssh/yourfile grader@ip_addr
$
sh /src/shell/s2.sh
1. Create a new user Digital Ocean 2
Add a new user grader
$
adduser --gecos "" graderMake a copy of the sudoers file to the temp /etc/sudoers.tmp
$
cp /etc/sudoers /etc/sudoers.tmpMake a backup of the sudoers file
$
cp /etc/sudoers /etc/sudoers.bakChange sudoers file
extra: effectively also remove root from sudoers
$word='root[[:space:]]*ALL=(ALL:ALL)[[:space:]]ALL'Replace it with grader
$
rep="grader ALL=(ALL:ALL) NOPASSWD: ALL"sed to execute this replacement.
sed -i "s/${word}/${rep}/" /etc/sudoers.tmpextra: remove the necessity for password for sudo, once done with dev remove “NOPASSWD: ” AskUbuntu 1 Sed Resources1.
$
word='%sudo[[:space:]]*ALL=(ALL:ALL)[[:space:]]ALL'
$rep='%sudo ALL=(ALL:ALL) NOPASSWD: ALL'
$sed -i "s/${word}/${rep}/g" /etc/sudoers.tmpMove the sudoers file back
$
mv /etc/sudoers.tmp /etc/sudoersMake the sudoers readonly Cyberciti 2
$
chmod 0444 /etc/sudoers
Add grader to the list of AllowedUsers for ssh
Do this by adding AllowUsers grader to sshd_config Digital Ocean 3
$if grep -q "AllowUsers" /etc/ssh/sshd_config; then
$word='AllowUsers'
$rep='AllowUsers grader'
$sed -i "s/${word}/${rep}/" /etc/ssh/sshd_config
$else
$echo "AllowUsers grader" >> /etc/ssh/sshd_config
$fi
1. Enforce Key-based ssh UnixHelp
Change to PasswordAuthentication = no in sshd_config file
$
word='#PasswordAuthentication[[:space:]]*yes'
$rep='PasswordAuthentication no'
$sed -i "s/${word}/${rep}/g" /etc/ssh/sshd_config
2. Make SSH accessible over non-default port 2200Digital Ocean 3
Change port from 22 to 2200 in sshd_config
$
word='Port[[:space:]]22'
$rep='Port 2200'
$sed -i "s/${word}/${rep}/g" /etc/ssh/sshd_config
3. Update applications to their most recent updates recent updates. AskUbuntu 2
$
apt-get update
$apt-get upgrade
4. Configure the firewall to monitor for repeated unsuccessful attempts, appropriately ban attackers and provide automated security feedback. Digital Ocean 4
Change bantime to 1800 sec
$
word="bantime[[:space:]]*=[[:space:]][[:digit:]]*"
$rep="bantime = 1800"
$sed -i "s/${word}/${rep}/" /etc/fail2ban/jail.localChange the email to my email
$
word="destemail[[:space:]]*=[[:space:]]root@localhost"
$rep="destemail = myemail@example.com"
$sed -i "s/${word}/${rep}/" /etc/fail2ban/jail.localChange the ssh port in jail.local
$
sed -i "/\[ssh\]/{N
N
N
s/\(\[ssh\]\n.*\n.*\)\n.*/\1\nport=2200/}" /etc/fail2ban/jail.local
Make sure that feedback is provided via email in case of brute force attack attempts
$sed -i "s/\(action_)/(action_mwl)/" /etc/fail2ban/jail.local
Ensure that fail2ban can send the emails
$apt-get install -y sendmail
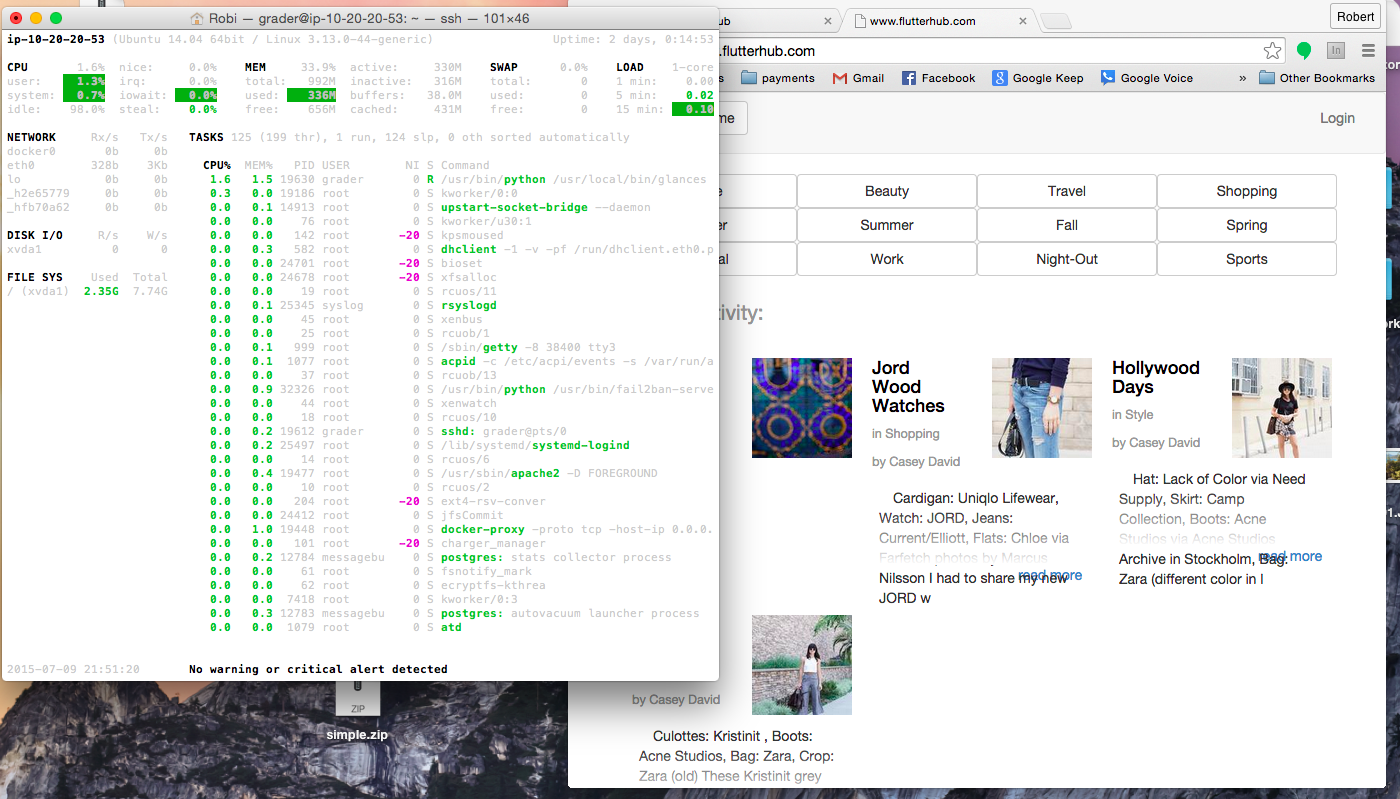
- Install a server monitoring software to monitor system availability and status. Python 1 Readthedocs 2
$
apt-get install -y python-pip build-essential python-dev
$pip install Glances
Web-server is dockerized (1) for security and portability; configured to serve the provided application and is configured to automatically restart in case of critical failure.
Database Server is dockerized (2) for security, portability, is configured to use a data volume for easy migrations, backups and restores.
Note: Even though it looks like remote connections have been enabled for the database it is important to notice that the database is not actually accessible remotely from any machine unless it is a purposefully linked docker container. Technically by dockerizing the database server, another layer of security was added.
1. Set up firewall to only allow connections over ports 123, 2200 and 80 Digital Ocean 7
ufw allow 123/udp
ufw allow 2200/tcp
ufw allow 80/tcp
ufw enable
2. Install NTP for better time synchronization ntp.org
apt-get install -y ntp
apt-get install unattended-upgrades
dpkg-reconfigure -plow unattended-upgrades
The system is set up to allow connections only on port 2200 for SSH, 123 for NTP and 80 for HTTP.
Port 80 is forwarded into the Docker container that runs the Apache server.
The Apache server container and the Postgresql container are built from a Dockerfile that has all the configuration settings.

Sources: flask.poccoo, Digital Ocean 5, Digital Ocean 6
RUN apt-get -y update && apt-get -y upgrade
apt-get -y install python-flask python-sqlalchemy && apt-get -y install python-psycopg2 && apt-get -y install python-pip && apt-get -y install python2.7-dev && apt-get -y install libjpeg-dev && apt-get -y install zlib1g-dev && apt-get -y install apache2 && apt-get -y install python-setuptools && apt-get -y install libapache2-mod-wsgi && pip install pillow && pip install oauth2client && pip install dicttoxml
ADD flaskapp.wsgi /var/www/FlaskApp/flaskapp.wsgi contents:
<pre class="prettyprint"><code class=" hljs python"><span class="hljs-keyword">import</span> sysimport logging logging.basicConfig(stream=sys.stderr) sys.path.insert(0,"/var/www/FlaskApp/FlaskApp/") from application import app as application application.secret_key = 'super_secret_mumbo_jambo'
ADD FlaskApp.conf /etc/apache2/sites-available/FlaskApp.conf contents:
<pre class="prettyprint"><code class=" hljs apache"><span class="hljs-tag"><VirtualHost *:80></span> <span class="hljs-keyword"><span class="hljs-common">ServerName</span></span><span class="hljs-sqbracket"> [SERVER IP]</span> <span class="hljs-keyword">ServerAdmin</span><span class="hljs-sqbracket"> [admin@mywebsite.com]</span> <span class="hljs-keyword">WSGIScriptAlias</span> / /var/www/FlaskApp/flaskapp.wsgi <span class="hljs-keyword">ServerAlias</span><span class="hljs-sqbracket"> [HOSTNAME]</span> <span class="hljs-tag"><Directory /var/www/FlaskApp/FlaskApp/></span> <span class="hljs-keyword"><span class="hljs-common">Order</span></span> allow,deny <span class="hljs-keyword"><span class="hljs-common">Allow</span></span> from <span class="hljs-literal">all</span> <span class="hljs-tag"></Directory></span> <span class="hljs-keyword">Alias</span> /static /var/www/FlaskApp/FlaskApp/static <span class="hljs-tag"><Directory /var/www/FlaskApp/FlaskApp/static/></span> <span class="hljs-keyword"><span class="hljs-common">Order</span></span> allow,deny <span class="hljs-keyword"><span class="hljs-common">Allow</span></span> from <span class="hljs-literal">all</span> <span class="hljs-tag"></Directory></span> <span class="hljs-keyword">ErrorLog</span> <span class="hljs-cbracket">${APACHE_LOG_DIR}</span>/error.log <span class="hljs-keyword">LogLevel</span> info <span class="hljs-keyword">CustomLog</span> <span class="hljs-cbracket">${APACHE_LOG_DIR}</span>/access.log combined</VirtualHost>
RUN a2ensite FlaskApp
RUN a2dissite 000-default
Sources: Docker 2 postgresql
RUN apt-key adv --keyserver keyserver.ubuntu.com --recv-keys B97B0AFCAA1A47F044F244A07FCC7D46ACCC4CF8
RUN echo "deb http://apt.postgresql.org/pub/repos/apt/ precise-pgdg main" > /etc/apt/sources.list.d/pgdg.list
RUN apt-get update && apt-get install -y python-software-properties software-properties-common postgresql-9.3 postgresql-client-9.3 postgresql-contrib-9.3
Change user to postgres
USER postgresStart database server, create user catalog with limited permissions,
Create db catalog with owner catalog
Remove all other users ability to modify the public schema of catalog
RUN    /etc/init.d/postgresql start &&\

        psql --command "CREATE USER catalog WITH CREATEDB LOGIN PASSWORD 'catalogpasswordhere';" &&\

        createdb -O catalog catalog &&\

        psql -U postgres -d catalog -c "REVOKE ALL ON SCHEMA public FROM public;" &&\

        psql -U postgres -d catalog -c "GRANT ALL ON SCHEMA public TO catalog;"
Adjust PostgreSQL configuration so that remote connections to the database are possible.
Note: These connections are only possible from within other docker containers. The ports are not exposed to the host machine unless specified so when running the container. Technically remote connections are impossible to the db.
RUN echo "host all all 0.0.0.0/0 md5" >> /etc/postgresql/9.3/main/pg_hba.conf
RUN echo "listen_addresses='*'" >> /etc/postgresql/9.3/main/postgresql.conf
Source: Docker 3
Make sure wget is installed:$
apt-get install -y wgetMake sure the key is added to apt
$
wget -qO- https://get.docker.com/gpg | apt-key addGet the latest Docker package
$
wget -qO- https://get.docker.com/ | sh
$
docker build -t flutterhub:v1 /src/.
$docker build -t flutterhubdb:v1 /src/db/.
Create the data volume
$
docker create -v /etc/postgresql -v /var/log/postgresql -v /var/lib/postgresql --name dbdata flutterhubdb:v1 /bin/trueStart db container with the volumes from dbdata
$
docker run --restart=always -d --volumes-from dbdata --name db flutterhubdb:v1Start app container linked to the db container, and add the apache log dir on the host machine as a volume in the container in order to be able to monitor the logs from the host machine.
$
docker run --restart=always -d -v /var/log/apache2:/var/log/apache2 -p 80:80 --name web --link db:db flutterhub:v1
| Misc Problems | Resource |
|---|---|
| Append multiple lines to a file with bash | StackExchange |
| Fail2Ban vs DenyHosts vs Iptables | Serverfault |
| Installing packages in linux | Ceph.org |
| Docker/Apache/Posgress server not running on install | Github |
For the udacity project in particular:
The sshd_config file includes the “PasswordAuthentication no” already, this will need to be disabled after running the first script in order to to copy the rsa public key for the user “grader”. Another way to do it is while still logged with root, find a way to copy the public key into /home/grader/.ssh/authorized_keys and chmod to grant “grader” full access to it.
Oauth does not work with ip addresses, in order to get oauth to work for google and facebook one needs to use the amazon ec2 hostname for one’s ip. See Udacity - and - Apache.
The Oauth redirects need to be updated to the new Hostname.
Other Important Resources:
Udacity Discussions - Very helpful!
Github/stueken - A lot of resources were found here!
Apache License Version 2.0, January 2004
- Sed Resources - StackOverflow 1, Opengroup 1, Opengroup 2, Grymoire. ↩