A handful of scripts that work toward building a GUI application, namely a calculator, can be found in src.
In examples, I have added the official pyqt examples
repository using git subtree.
These PyQt examples show you how to create a desktop app with Python and Qt. Start with "Hello World" or browse the official PyQt demos. You can run every example yourself on Windows, Mac or Linux. All you need is Python 3. For instructions, please see below.
 |
 |
 |
 |
 |
|---|---|---|---|---|
| Hello World! | Common PyQt Widgets | Layouts | Signals and Slots | Qt Designer & Python |
 |
 |
 |
 |
|---|---|---|---|
| QML Python example | Qt Text Editor | Packaging & deployment | Qt Dark Theme |
 |
 |
 |
 |
|---|---|---|---|
| Action Shooter | Chat Client | Tree Views | Lists |
 |
 |
|---|---|
| Custom Tables | PyQt database example |
These examples are taken from the following book:
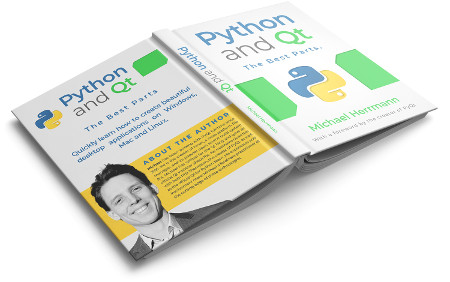
Python and Qt: The Best Parts
by Michael Herrmann
The PyQt source archive also
contains a large number of sample files. You can find them reproduced here in
the src/pyqt-official directory. The easiest way to
start them is to follow the instructions about running examples
below, then execute the following commands:
cd src/pyqt-official/qtdemo
python qtdemo.py
This starts the PyQt example launcher:

You can use it to easily browse and run the official demo applications. The following examples are quite nice for instance:
- Quick / Animation / ColorAnimation
- Graphics Effects / Lighting and Shadows
- Desktop / System Tray
- Desktop / Screenshot
- Widgets / Tetrix
Running the examples is really easy. The only thing you need is Python 3.
First, download the ZIP archive of this repository
and unpack it.
Open a command prompt and use cd to navigate into the top-level directory
of the archive.
Create a virtual environment via the command:
python3 -m venv venv
This creates the folder venv/ in your current directory. It will contain
the necessary libraries for running the examples.
To activate the virtual environment, use the following command:
# On Windows:
call venv\Scripts\actviate.bat
# On Mac / Linux:
source venv/bin/activate
Now execute the following to install the necessary dependencies:
pip install -Ur src/requirements.txt
Once you have done this, use cd to navigate to the example you're
interested in in the src/ folder. For example:
cd "src/01 PyQt QLabel"
You'll find a .py file there, typically main.py. You can run it with the command:
python main.py
Please note that the virtual environment must still be active for this to work.
This repository uses PyQt5 to use Qt from Python. Another, alternative binding is PySide2 (also called "Qt for Python"). It is less mature than PyQt5 but has the advantage that you can use it for free in commercial projects.
If you want to use PySide2 instead of PyQt5, simply replace all mentions of
the latter by the former. For instance, in
./examples/src/requirements.txt, replace PyQt5 by PySide2.
Similarly for any code examples: from PyQt5.QtWidgets ... becomes from PySide2.QtWidgets ... etc.
Alternatively, if you don't want to commit to either of the two bindings at
this stage, you can also use Qt.py. This
is an abstraction over PySide2 and PyQt5. It loads whichever of the two
bindings is available. To use it for the examples presented here, replace all
mentions of PyQt5 by just Qt.
Except where otherwise indicated, you may use the source code of examples 1 -
15 in the src/ directory under the terms of the MIT or GPLv3
licenses.
The official PyQt demos in src/pyqt-official are
licensed under the GPL.
The screenshots in this repository may be used under the terms of the CC BY-NC-SA 4.0 if you prominently mention and link to Michael Herrmann's PyQt5 book.