Blend4Web is a tool for interactive 3D visualization on the Internet. Our framework is well suited for showcasing products, e-learning, game development, advertising and webdesign.

The major distinguishing features of Blend4Web are:
- It works right in the web browser without installing any plug-ins (WebGL technology);
- Not only does it render 3D graphics but it also integrates realistic physics and spatial audio;
- It is extremely simple to use because it is based on Blender in which 3D scenes can be made and then directly exported, even as a standalone web page;
- It is available as a fully functional open source version or as under a paid commercial license.
- It does not depend on any non-free components or cloud services.
This repo mirrors the free SDK distribution which can be also downloaded from the official site.
Setting up the development environment suits 3D application developers. To familiarize yourself with the Blend4Web addon Quick Installation can be a better option.
- Run Blender, load the default scene File > New;
- Open the user preferences window File > User Preferences...;
- Go to the File tab, choose the path to the blender_scripts directory in the Scripts field;
- Click Save User Settings and restart Blender.

- Again load the default scene;
- Open the user preferences window;
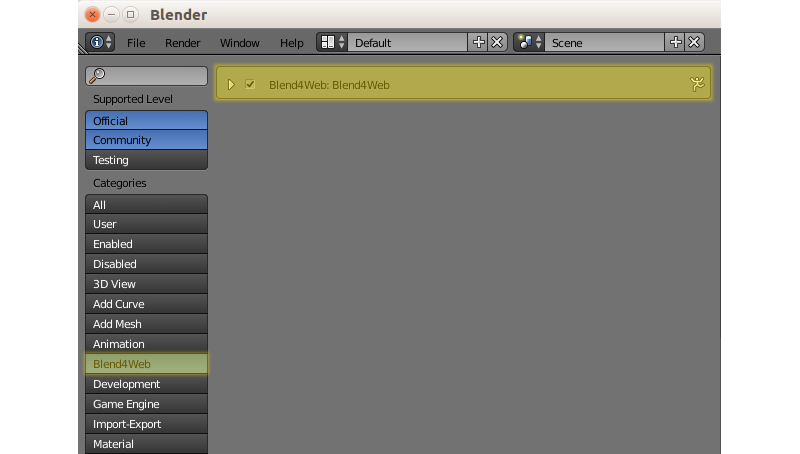
- Go to the Addons tab and choose the Import-Export category. Enable the Import-Export: Blend4Web checkbox;
- Click Save User Settings. Restarting Blender is not required.
- Go to the Render tab and press the Start button on the Development Server panel;
- Press the Open SDK button to open the index web page of the Blend4Web SDK in your default browser. Try running demos!
